
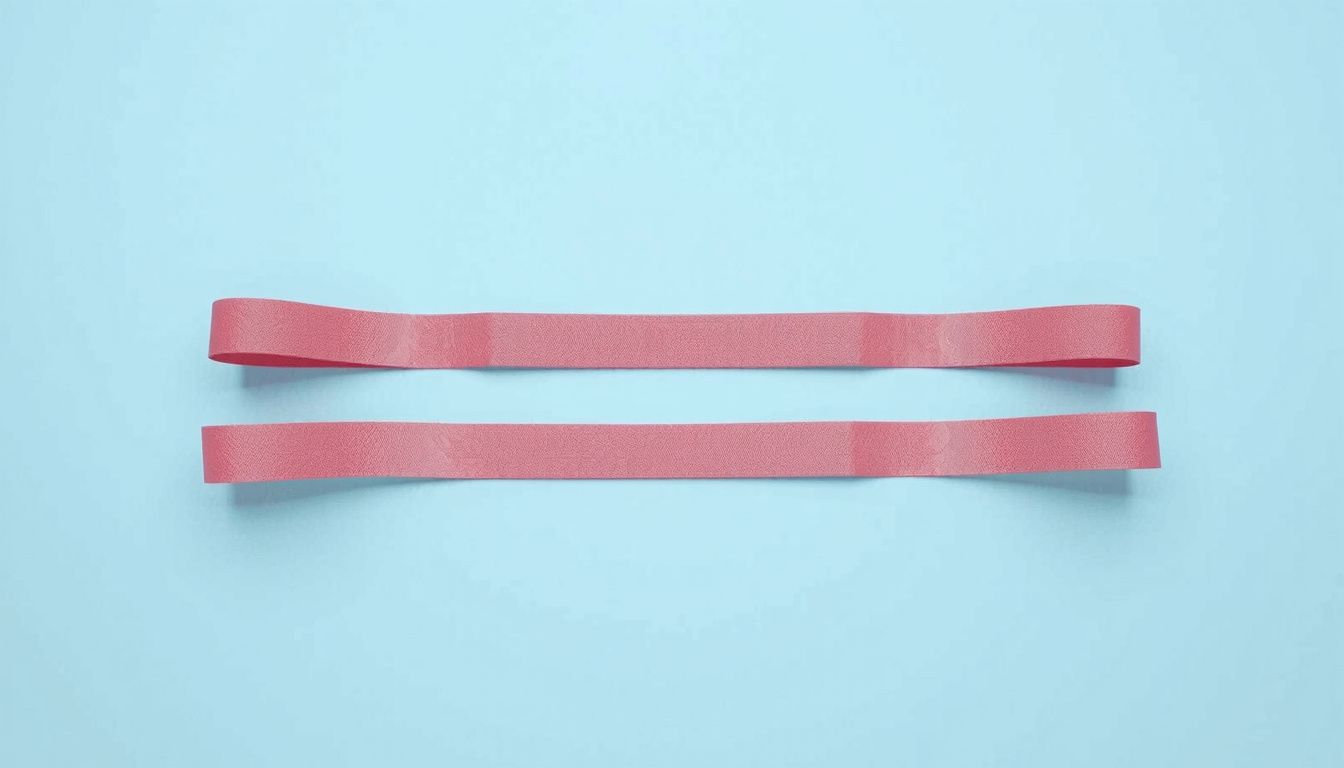
how does resistance bands work when they look so simple? You stretch them, they fight back, and your muscles have to earn every inch of movement.
That “fight back” is variable resistance: the more you pull, the more tension you create. It’s why bands can feel light at the start of a rep and surprisingly tough at the end, right where many exercises get easier with dumbbells.
I’ve coached beginners who needed joint-friendly strength work and experienced lifters who wanted a portable way to keep training consistent. Used well, bands can build strength, improve control, and help you learn clean movement patterns without a rack of equipment.
Look, once you understand what’s happening, your workouts get smarter. You’ll learn how tension changes through a range of motion, how anchoring affects difficulty, and how to choose the right band so you’re not guessing.
Quick example: loop a band under your feet for biceps curls—at the bottom it’s manageable, but as you curl up, the band stretches and the resistance climbs, forcing you to stay strict. If you want to train safely and get real results, start by checking these key factors:
- Band thickness (tension level)
- Anchor point (door, pole, under feet)
- Range of motion (how far you stretch it)
- Tempo (slow reps increase control)
How resistance bands create tension in your muscles
Now let’s get specific about what your body is fighting against. A resistance band is elastic, so when you pull it longer, the material stores energy and pulls back toward its resting length. That backward pull is the external force your muscles must overcome to move and control the band.
Your muscles create tension in two main ways: they shorten to move you (concentric) and they lengthen under load to brake the band (eccentric). Both count, and the eccentric phase often feels tougher because you’re resisting the band’s snap-back.
You’ll notice band tension depends on setup, not just “band color.” Key drivers include:
- Band thickness and material quality
- Starting length (more slack vs pre-stretched)
- Anchor position and line of pull (angle changes load)
- Your leverage (joint position and range of motion)
Practical example: in a band row, if you sit farther from the door anchor, you start with more pre-tension, so your upper back has to engage earlier and stay “on” through the whole rep.
Why bands feel harder as you stretch them (variable resistance)
Bands feel progressively harder because they provide variable resistance: the more you stretch them, the more they pull back. This comes from basic elastic behavior—stretching increases internal tension, so force rises as length increases.
That’s why bands can match your strength curve. In many lifts you’re weaker at the start and stronger near the end; bands often load the top range more, where you can usually handle it. Done well, you get a challenging finish without needing heavy weights.

Variable resistance shows up clearly in movements like:
- Banded squats (harder near standing)
- Chest presses (tougher near lockout)
- Overhead presses (increasing load as arms extend)
Practical example: during a banded glute bridge, the first inch feels manageable, but as your hips rise and the band stretches more, your glutes must generate extra force to finish strong and hold the top position.
What muscles you actually train with bands—and how to target them
Now that you know what your body is pushing against, you can aim that resistance where you want it. Resistance bands can train nearly every major muscle group, but your results depend on anchor point, body position, and line of pull.
For your lower body, bands shine on the glutes, quads, and hamstrings because you can keep constant tension through the range. For your upper body, you’ll hit your back, chest, shoulders, and arms by matching the band’s pull to the movement pattern you want to strengthen.
- Glutes: banded hip thrusts, lateral walks (band above knees to bias glute med)
- Back: seated rows, lat pulldowns (anchor high to target lats)
- Chest/shoulders: banded presses, face pulls (anchor at chest/face height)
- Core: Pallof presses, banded dead bugs (anti-rotation control)
Practical example: if your knees cave in during squats, loop a mini band above your knees and “push out” lightly as you squat. You’ll cue glute med activation while still training your quads.
How to choose the right resistance band for your goals
Look, the “best” band is the one that matches your goal and lets you keep clean form. Start by choosing the type, then the tension, then the setup you’ll actually use consistently.
If you want muscle and strength, you’ll usually prefer loop bands or tube bands with handles that allow heavier tension. If you want rehab, mobility, or activation, mini bands and lighter tubes give you better control and smoother reps.
- Mini bands: glute activation, knee tracking, warm-ups
- Loop bands: squats, deadlifts, rows, assisted pull-ups
- Tube bands w/ handles: presses, curls, travel workouts
Choose tension by rep quality: you should have 1–3 challenging reps left at the end of a set of 8–15. If the band snaps you forward or you shorten range, go lighter or shorten the band safely.
For how does resistance bands work in practice, remember: more stretch equals more load—so step farther from the anchor to progress without changing equipment.
How to set up your band safely (anchoring, grip, and range of motion)
Now that you’ve picked a band, your setup decides whether the rep feels smooth or sketchy. A safe anchor and clean line of pull keep tension on the target muscle instead of your joints.
Start with anchoring. Use a door anchor on the hinge side, a sturdy rack post, or a heavy immovable object; test it with a gentle pull before you step back. Avoid sharp edges and anything that can roll, slide, or swing toward you.

- Anchor height: match the exercise (low for rows, mid for presses, high for pulldowns).
- Grip: wrap the band evenly, keep wrists neutral, and don’t choke up so far you shorten range.
- Range of motion: begin with slight tension, then move through a pain-free arc without snapping back.
Practical example: for a standing row, anchor at belly-button height, step back until the band is lightly taut, then row to your ribs while keeping shoulders down and chest tall. If the anchor shifts or the band twists, reset before you add speed.
How to use resistance bands for strength training you can progress
Look, bands can build real strength if you treat them like any other tool: consistent form, measurable overload, and enough effort close to failure. Your goal is repeatable reps, not random burn.
Pick 4–6 core patterns and track them weekly: squat/hinge, push, pull, and a carry or core move. Work in a strength-focused rep range, then progress one variable at a time.
- Reps: build from 8 to 12 with the same band and strict tempo.
- Band tension: step farther from the anchor or switch to a thicker band.
- Leverage: shorten the band (choke up) or change body angle to increase load.
Practical example: for banded chest press, start with 3 sets of 8 at an RPE 8 (2 reps in reserve). When you hit 3×12 clean, move your feet 6–12 inches forward or upgrade the band, then return to 3×8 and build again.
How bands support mobility, warm-ups, and injury rehab
Now that you can train safely and progress, you can use bands to make your joints move better and your muscles “switch on” before heavier work. Bands give you gentle, adjustable tension that guides motion instead of forcing it.
For mobility, you can use bands to create light traction and controlled end-range work. Think of it as helping your body find cleaner movement patterns while you stay in charge of speed and depth.
- Mobility: banded shoulder dislocates, hip openers, ankle dorsiflexion rocks
- Warm-ups: glute bridges with a mini band, band pull-aparts, lateral walks
- Rehab support: low-load rotator cuff external rotations, terminal knee extensions, scapular retraction drills
Practical example: before an upper-body session, do 2 sets of 15 band pull-aparts and 2 sets of 12 external rotations per arm. You’ll feel your upper back and cuff engage, which often improves pressing mechanics and reduces shoulder “pinch” sensations.
Common resistance band mistakes you should avoid for better results
Look, bands are simple, but small errors can wreck your results fast. If you’re wondering how does resistance bands work in real training, the answer depends on how cleanly you control tension, line of pull, and tempo.
The biggest mistake is letting the band do the work. If you snap through reps, you train momentum, not muscle, and you may irritate tendons—especially around elbows and shoulders.
- Using too much tension: your range shrinks and form compensations take over
- Wrong line of pull: the band drifts, changing the target muscle mid-rep
- No pause or slow return: you miss time-under-tension and control
- Training through pain: “burn” is fine; sharp joint pain isn’t
Practical example: if band rows turn into shrugging, step closer to reduce tension, keep ribs down, and pause 1 second with elbows back. You’ll hit lats and mid-back instead of neck and traps.
Final Thoughts
Now that you’ve seen the bigger picture, how does resistance bands work comes down to one simple idea: you create tension, and your body matches it with controlled force. That constant pull can make light equipment feel surprisingly challenging, especially when you move with intent and stay consistent. You don’t need a full gym to train well—you need a repeatable plan you’ll actually follow.
Here’s a practical way to apply it this week: keep a mini band in your work bag, then do 2 quick rounds after lunch—15 band rows, 12 band presses, and a 30-second banded squat hold. It’s short, quiet, and it builds momentum on busy days.
Your next step:
- Pick one goal (strength, mobility, or rehab support).
- Schedule three 15-minute sessions on your calendar.
- Track reps or band level so you can see progress.
Related read: What Size Resistance Band for Pull Ups: Choose Yours