
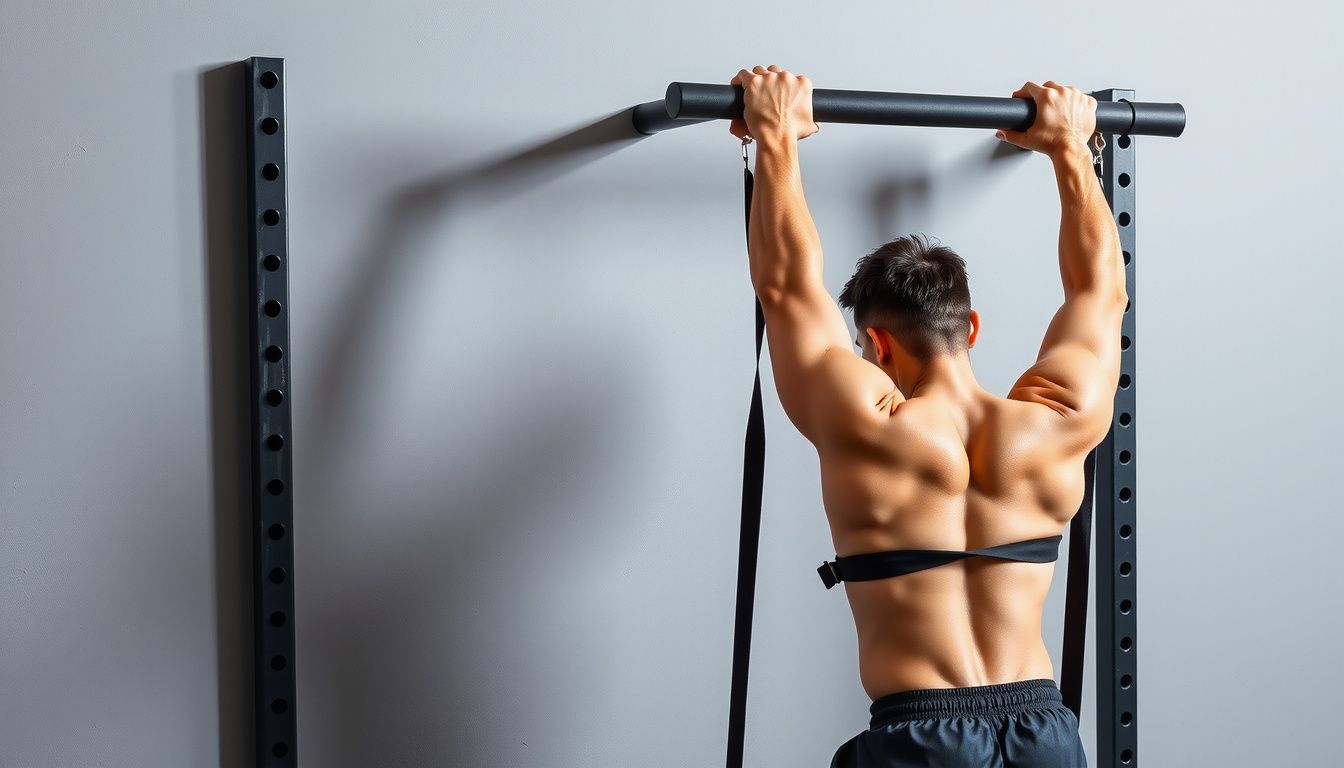
How to do pull ups with resistance bands is the fastest way I know to bridge the gap between “I can’t budge” and clean, confident reps. A band gives you help where you need it most: at the bottom, when your arms are long and leverage is worst. That means you can practice the real movement pattern, build strength in the right muscles, and groove solid technique without turning every set into a fight.
My goal here is simple: get you set up safely, pick the right assistance, and perform reps that actually carry over to unassisted pull ups. You’ll also learn how I progress band tension over time so you don’t get stuck relying on the band forever.
Look, the band is a tool—not a crutch. Used well, it’s a shortcut to better form and faster strength gains.
Get Set Up Before You Start (Band, Bar, and Safety Checks)
I start with the basics because most band-assist problems come from sloppy setup. You need a stable pull-up bar, a quality loop band, and enough overhead clearance to hang without your feet dragging.
Before every session, I run a quick safety check:
- Bar security: no wobble, no loose doorway mounts, no wet grips.
- Band condition: no tears, cracks, or thinning spots near the loop.
- Landing zone: clear floor, no benches or dumbbells under you.
Pro tip: I keep chalk (or a towel) nearby. A slipping grip ruins good reps fast. Common mistake: using a band that’s too short for the bar height, forcing you to “jump” into tension and losing control before the first rep.
Choose the Right Band Tension for Your Current Strength
The best band is the one that lets you do clean reps in a useful range. I aim for 3–6 controlled reps per set with perfect form. If you’re cranking your neck over the bar or kicking like crazy, you need more assistance or fewer reps.
Use this quick guide to choose tension. It’s not perfect, but it’s practical.
| Band Assistance Level | What It Feels Like | Best For |
|---|---|---|
| Heavy | Big “boost” off the bottom | First pull ups, learning form |
| Medium | Help at the bottom, you still work hard at the top | Building strength, 3–8 reps |
| Light | Small assist, mostly you | Peaking for unassisted reps |
Common mistake: going too light too soon. I’d rather you own 4 smooth reps than grind out 1 ugly one that teaches bad habits.
Attach the Band and Lock In Your Starting Position
I attach the band by looping it over the bar and pulling one end through the other to create a tight hitch. Then I tug down hard to confirm it won’t slide. If it moves, I re-loop it—no exceptions.
Next, choose how you’ll load the band:
- Foot assist: one foot in the band (most common, easiest to control).
- Knee assist: both knees in the band (often more help, but can swing).
- Both feet: more stable, but can change your body position.
Now I set my start: hands just outside shoulder width, thumbs around the bar, shoulders “down and back,” ribs stacked over hips. Common mistake: starting with shrugged shoulders. If your shoulders are up by your ears at the bottom, you’re leaking strength before you even pull.
Perform Band-Assisted Pull Ups Step by Step With Clean Form
I treat every rep like practice for the unassisted version. That means control, no bouncing, and a consistent path. Here’s the exact sequence I use.
- Dead hang to active hang: straighten arms, then pull shoulders down without bending elbows.
- Pull: drive elbows toward your ribs, keep chest tall, minimize swinging.
- Top position: chin over bar (or upper chest close to bar), pause for half a second.
- Lower: 2–3 seconds down to full extension, keep tension the whole time.
Pro tip: think “elbows to pockets,” not “chin to bar.” It cleans up the movement instantly. Common mistakes: craning the neck to fake the top, or letting the band snap you upward. I want the band assisting—not launching.
Practical example: if I can do 5 strict reps with a medium band, I’ll run 4 sets of 4 reps, resting 90–120 seconds, and stop before form breaks.
Progress to Lighter Assistance and Unassisted Pull Ups
I progress in small steps so my joints and tendons keep up with my strength. The simplest method is: keep the same rep goal, then reduce band help when you hit it cleanly for multiple sets.
Here’s how I do it:
- Week-to-week: add 1 rep per set until you reach 6–8 clean reps.
- Then: switch to a lighter band and drop back to 3–5 reps.
- Bridge work: add 2–3 slow negatives (5 seconds down) after your last set.
Common mistake: testing unassisted reps every workout. I test once every 2–3 weeks, fresh, after a good warm-up. If you’re close, mix sets: first set light band, second set medium band for volume, then negatives to finish.
You’re Ready
If you set up safely, pick the right tension, and keep your reps strict, band-assisted pull ups work. They build the exact strength pattern you need without the frustration of endless failed attempts. I’d rather see you do fewer reps with perfect control than chase numbers and reinforce sloppy mechanics.
Next actions: choose a band that lets you hit 3–6 clean reps, practice 2–3 times per week, and track your band level plus reps. When you can own 6–8 smooth reps for a few sets, move to a lighter band and repeat. Stay patient, keep your shoulders packed, and your first unassisted pull up will show up sooner than you think.